Last updated: 30/04/2025 05:21:16
UNITOR JET SPRAY UNIT 6BAR, 10 LTR STEEL,FPM
Product Code
- Product group:
- 664
- Product number:
- 572020
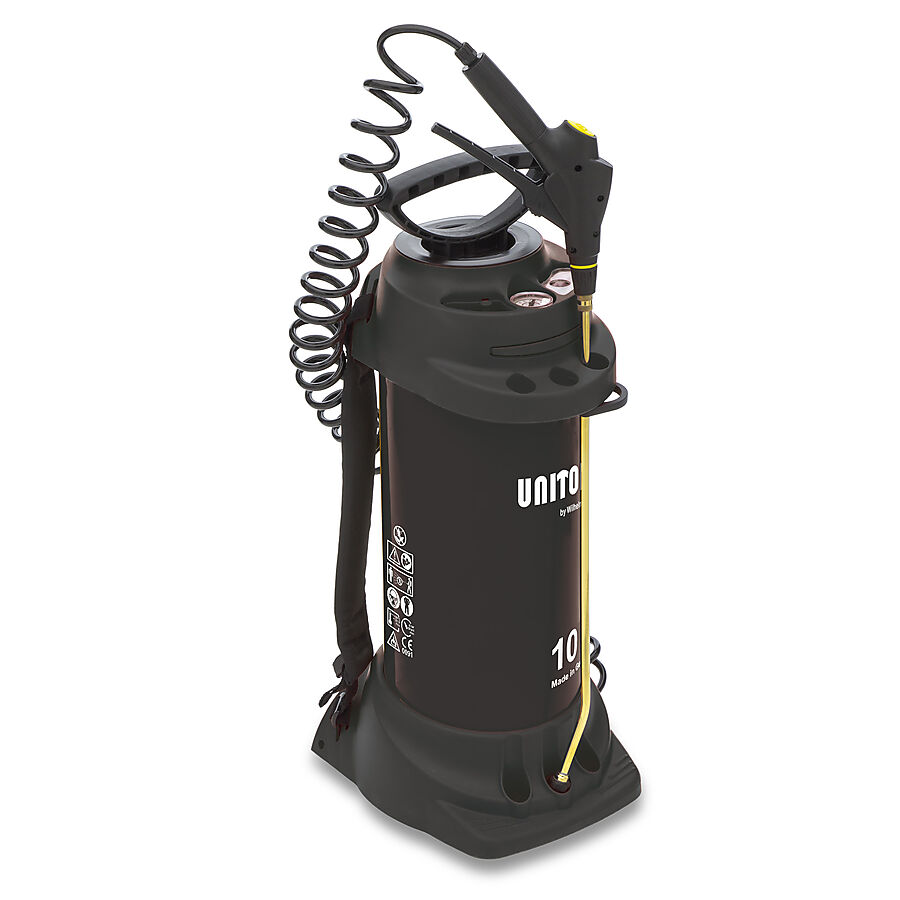
The Jet Spray Unit is ideal for applying Unitor cleaning chemicals & degreasers. The main body is made of polyester-coated steel and is portable with a padded carrying strap.
Product information
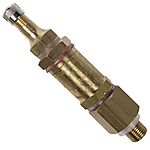
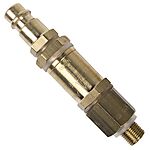
Supplied complete with tank, spray lance & hose, spray nozzles & pipe, charge pump, pressure gauge and relief valve (set to operate at 6 bar), carrying strap, spare parts pouch.
Features
- Extremely robust coated steel tank even under toughest conditions
- 10 L tank with padded carrying strap
- Large base: stands stable even on uneven surfaces
- Safety lock on the shut-off valve with filter protects against accidental spraying
- 50 cm long brass spray nozzle with flat jet nozzle 80-01 can be rotated 360° angle
- Spray gun and 2.5M long flexible spiral hose for larger range coverage
Benefits
- Ergonomic shut-off valve with filter protects the wrist.
- Safe to operate
- Fast to pressurize
- Easy to apply pre-mixed dilution
- Fine and economical distribution of liquids
- FPM gaskets offer good resistance to many chemicals types
Specification
General
| Invent Hazard Material (IMO/EU) classification | NA |
|---|---|
| Material type and grade | Polyester-coated steel |
Dimensions/Weight
| Gross Weight [kg] | 5.2kg |
|---|
Technical data
| Operating pressure [bar] | 6 bars |
|---|---|
| Operating temperature [°C] | 50 |
| Working volume [l] | 10 liters |
Documents
Directions for use
To assemble
- Fasten the carrying strap onto the tank.
- Screw the spray line tightly into the outlet port (Note: the location of the spigot in order to be able to insert the lock)
- Insert lock (The lock closes and the spray line is secured from unscrewing out of the tank)
- Push the hose onto the shut-off valve and secure it with the cap nut
- Screw the spray lance onto the shut-off valve
- Conduct visual checks to ensure that there's no leaks by pumping up the empty device to 2 bar (The pressure must not decrease more than 0.5 bar (7,35 psi) within 30 minutes)
- Check the sprayer function: Pull the red button on the safety valve. The pressure must dissipate.
To operate
- Pull up the red button on the safety valve [12] until all excess pressure is released from the tank
- Press the pump handle [13] down and turn it counterclockwise. The pump handle is locked in place.
- Unscrew the pump from the tank
- Add the spraying liquid to the tank
- Add the spraying liquid to the tank
- Swivel in the pump holder
- With compressed-air filling valve: Connect the compressed-air hose to the compressed-air filling valve. Pressure is built up max. 6 bar (88 psi)
- When the required pressure has built up, remove the compressed-air hose.
The Sprayer is now ready for use.
To empty
- Pull up the red button on the safety valve until all excess pressure is released from the tank
- Lock the pump handle in place
- Unscrew the pump from the tank
- Empty and rinse the device with clear water. THIS UNIT MUST BE THOROUGHLY WASHED OUT IMMEDIATELY AFTER USE with fresh water, shaking the unit well and spraying the water out. Remove nozzle to save time. Also rinse nozzle in fresh water.
- Wipe off the device with a moist cloth.
- For drying and storing the device, keep the tank and pump separate in a dry place protected from sunlight and freezing temperatures.